Wednesday, May 18, 2016

Student AppSmash - A PBL success story


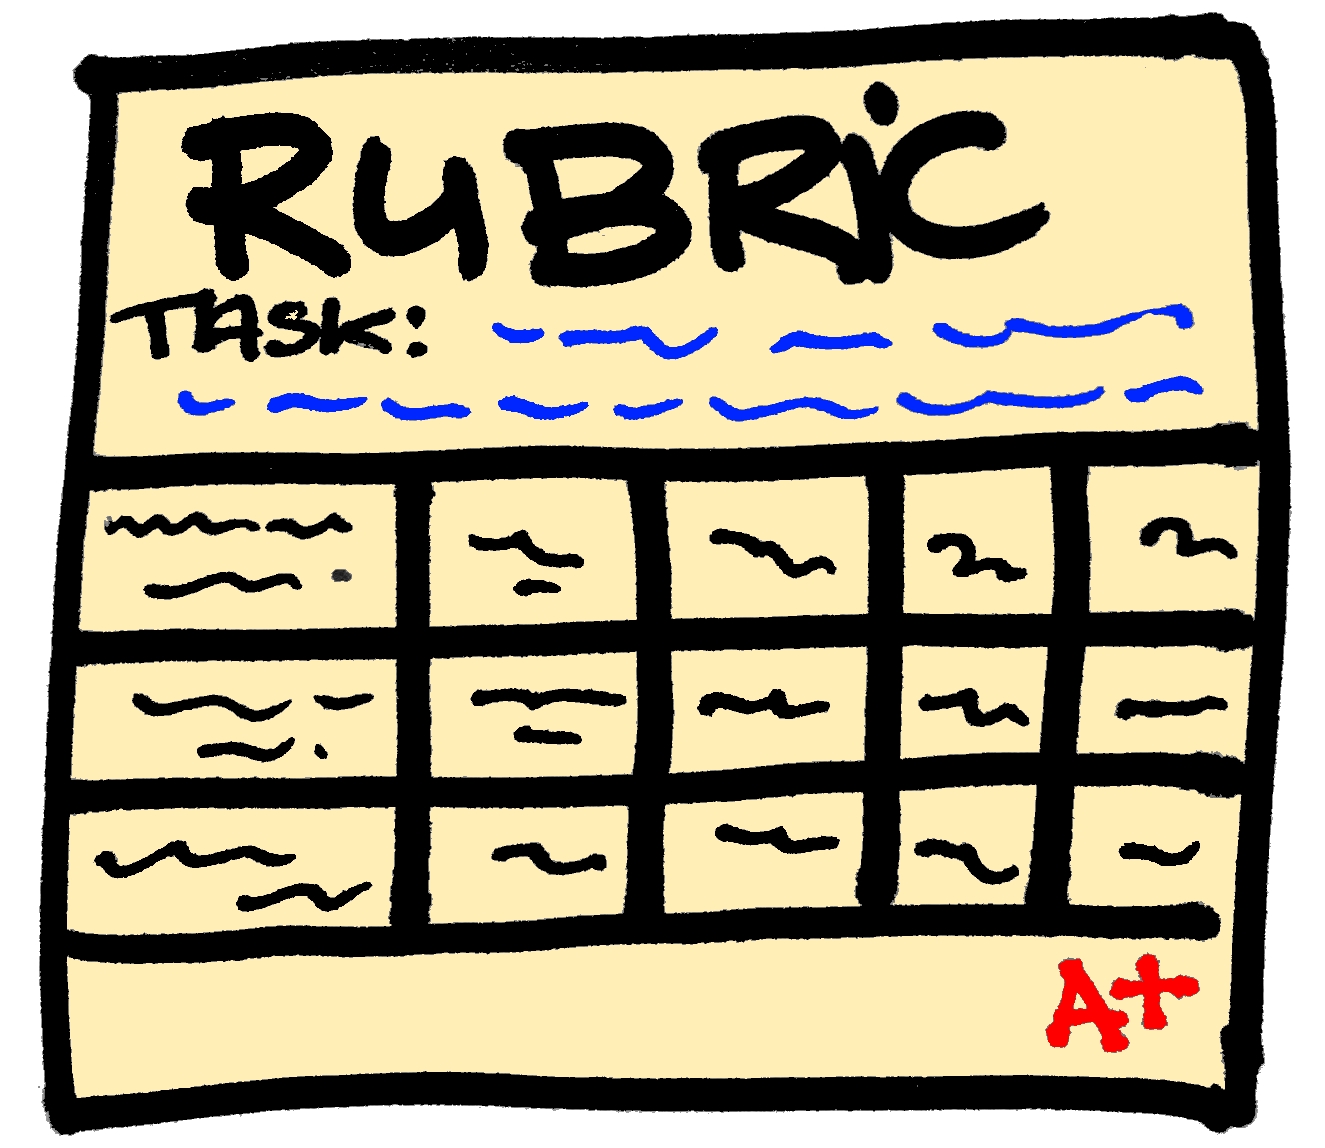
Many of you may have experienced that gut wrenching moment where, before the students have even begun to understand what the PBL experience they are in entails, they have already opened Google slides. The blank stares I get when I dare ask, "Are you sure that a slide deck is the best way to go?", tell me that they are much more product driven than I hope, and that most have been exposed to the "wrong" answer shown in the image above. Presentation equals slides! This is what has driven me to make sure that my driving questions are as vague as possible, at least with respect to the type of product the students create, which brings me to the real reason behind today's post.

A couple of weeks ago, my students began their exploration in our Interdependence of Organisms unit, which culminated in the students "Convincing the general public to care about an endangered species, and developing a realistic plan to bring it back from the brink of extinction".  As always my students launched into "presentation" mode, which was when I officially stated that I was incredibly tired of sitting through slides, so anyone "caught" even thinking about creating a slide deck without a storyboard would lose their tech. I then added that I expected to be entertained, because "no one cares about what is being presented if they are bored, so if the goal was to convince people to care, boring them to tears with slides was definitely not the way to go". What followed was a flurry of student engagement that culminated in one of my favorite student app-smashes of all time - the AyeAye Need You website

http://goo.gl/Z5LVrb


The Aye Aye Need you WIX website includes a student produced screencast-o-matic video, two Thinglinks (one of them used simply as a presentation aid), a HSTRY timeline and a Piktochart infographic.

I unfortunately did not think to record the students' presentation of their work, but their recovery plan included comments like:

- The US and Madagascar are not "besties", so they will need to put aside their differences and work together to restore the forest.

-  Why do we need charcoal? That just pollutes the air. What we need is more Aye-Aye's!


Did the student's achieve the goal of raising awareness, driving action and starting conversations to save the lowly Aye Aye? Yes.
Did they use technology to do it? Yes.
Did they "make a Google slide deck"? Most certainly not.

Now, on to the next step in this PBL evolution - guiding students to develop empathy for the user of a product before even thinking about what the product is/should look like/do.


Friday, May 13, 2016

PBL Toolkit


What do you do when your administrator asks you to show your colleagues how to develop and run PBL projects? Once the meltdown is over, and you have had time to mull things over, you compile a list what you consider your best tools. Here goes:


Project Ideas:

This is really the hardest part, especially when you are just starting out. In the beginning, as you familiarize yourself with the process, your best bet is to use BIE's project searchEdmodo Spotlight or even my own PBL page. Find something you like and that you are willing to do. Know that it will not be pretty the first time around (or the second or third). Trust in the process knowing that once you have run a couple of experiences you will start to feel comfortable and even decide to create one from scratch. When you reach that point, you will start seeing opportunities everywhere. You will find yourself reading an article or thinking about an experience through the lens of, "I wonder what my students could come up with to ...". That is when you are ready to meet with your fellow educators, and develop one you can call your own.

Standards:

Yes, of course you will have to think about your standards. See where that nugget of an idea you had could fit. Truth be told, any PBL experience you create can hit on many standards. The trick is to decide which one you will be teaching explicitly. Don't fall into the trap of simply stating the standard. Decide in advance how your students are going to show mastery of the standard and make plans to point your workshops and activities to address the specifics of the standards.


The Driving Question: 

This is the root of your project, and BIE has graciously shared a handy tool to help with that. They call it the Tubric, and it boils down to something along the lines of:
"How can we as ___ create a way to ____ for ___ in order to address/do/change ___.

Now that you have your project idea, your standards and your driving question, it is time to develop your project. This is where the fun begins.

Entry event: 

Nothing beats a video to catch the student's attention. Thankfully most districts have now decided that YouTube is not the root of all evil. However there are still steps that can be taken to reduce distractions when presenting a YouTube video. Use tools like SafeshareTV or ViewPure to remove comments, advertisements, sidebars, etc.
A novel idea that can be used as an entry event and as a way to encourage deep need to knows is having students participate in a StunConference - a student-led unconference. This takes more time and preparation than showing a video, but it does have the benefit of greater student engagement with the project.

Need to knows: 

These can be collected by the students on Google docs (or in their notebooks). But what about group need to knows that can be easily shared and added to by the whole class? For this, I like to use Padlet and more recently Verso. Both of these remove the stress of students trying to come up with the "perfect" need to know, by allowing them to add and respond long after the project run began. They can also access the tools from any device, so if a new need to know pops up in their head later (while at the store for example), it is simply a matter a few clicks and the idea is added.


Workshops and activities: 

Whether you plan them way in advance or as a response to the needs of your students, you can curate your materials for easy access by your students in platforms such as LessonPaths or Blendspace. For your visual learners, or simply because it is more fun, you may want to create interactive images using Thinglink.


Project page: 

This is where you communicate expectations, as well as host all of the materials your students will need, including the rubrics. You want something that is easy to access and offers flexibility should you need to add things "on the fly" with a minimum of disruption. For me, the answer is WIX, a web page creation platform that allows you to add practically anything, anywhere. If you have never used it, choose from one of their templates. As you become more and more familiar, be bold and create your project pages from scratch. With a little bit of knowledge regarding iframes, you can embed anything without having to worry about figuring out whether what you want to add has an embed code or not. I have used some other tools that also deserve a mention due to their shallow learning curve: Tackk and HSTRY. Both of these are a bit more linear, and have limitations in what can be embedded directly, but for some groups of students this is a "good thing".

Managing a project run: 

Everybody is working on their project, or are they? How do your students communicate their daily activities with you, and how do you manage all those groups without going crazy? It is as simple as Trello, a project management tool that updates in real time, and allows every member of each team to share exactly what they are doing, upload materials, share information, etc. It also provides a space for direct teacher feedback during the run, eliminating the fear of facing a "what did you do all this time?" moment come presentation day. If you want to know more about how I use it, you may want to visit my previous post.


Presentations and Exhibitions: 

Make use of the Ignite format during presentations, or better yet host student exhibitions.


Rubrics and Feedback: 

Your students are done, and have successfully presented their projects. You still have to figure out a way to provide feedback and give access to the graded rubrics. Yes, you can use paper or you can create individual documents and e-mail them to the students. It is a chore no one likes. Thankfully, ForAllRubrics has come to the rescue. Whether you use it as a stand alone product, or as I do within Edmodo, this badging and rubric platform allows you to grade and send the rubrics to your students with just a few clicks.


Reflection:

What is PBL without reflection? Just another project... Invite your students to reflect on their work by having them use this set of questions using Blogger as their platform.


Dive into PBL. Your students will thank you for it.


Thursday, April 28, 2016

PBL - Project Management Made Easier with Trello


A while back I posted some ideas on how to keep the students on track during a PBL run (PBL - Avoiding the pitfalls of "Doing Research"). I've been working with several iterations of the Project Timetable, Daily Project Work Report and Project Management Sheet with some success, but my students and I still struggle with some of the finer points of PBL management in the classroom.

You see, some of my students hear project and immediately jump up to get scissors and glue, while others get a computer and open Google slides. Often I find myself saying, "You don't even know what the project is about and you are already thinking about the final product?" So the question continues, "How can I help students visualize the steps needed to successfully complete a project run without micro-managing?", and more importantly, "How can I see where everyone is at any given time?" I think I may have found the answer in Trello.

Trello is a free project management tool. The interface is simple. You create a board, which is really a list of lists, filled with cards. The cards can include pictures, attachments, checklists, labels and due dates. These cards can be moved around and edited all members of a board. Basically anything that you would need to know about a project run can be added to the board.

Here is how I am using it for my PBL runs:

  1. I create an assignment board master and make it public. The master includes the assignment, specific links I want to share, expected due dates, etc. 
  2. The "press secretary" from each team creates a copy my board master, and shares it with his/her teammates and myself.
  3. As students work on the project run, they update the board, moving the cards from "To do" to "Doing" to "Done", and add the evidence of their work. They can add links, pictures, documents, you name it!
  4. Things in the  "Done" list can be opened  by me to provide feedback. I can  even move things back to the "Doing" for revision. The board is updated in real time, so any time anything happens the students have the "latest" information.


Trello does not have to be only for PBL. Read what Melanie Pinola has to say about Trello. And no, I am not affiliated with Trello in any way. It simply has allowed me and my students to become better at this PBL business.

Sunday, April 10, 2016

The End is Nigh


The end of the school year is upon us. Students are dreaming about that long summer vacation. Behaviour issues are on the rise. You are asking yourself, what can I do to keep students engaged? How can I recap what was learned and end my school year strong?

Below are some of the assignments that I use:


I would love to add to these. What are some of the things you do to keep your students learning until the last day?

Saturday, April 9, 2016

StunConference - A Student Led Unconference


If you are an educator you have probably have heard of un-conferences. Maybe you have even attended a couple. You might have even toyed with the idea of doing one with students, especially if you are a project based teacher. After all, they kind of feel a little like the "need to know" discussions you have after your entry event.

However, the logistics  seem daunting. Where are you going to hold it? How are you going to keep students on track? Do you really have the time? What if the students do not buy into it? What if a session creator gets no participants? These are the questions that good friends and masterful educators Samantha McMillan and Melissa Garcia had a couple of months ago when they decided to "Just do it". Today, I was in Samantha's class and witnessed what I had thought impossible: A 6th grade student led un-conference.

So, what did it look like? Engagement and deep conversation centered around "Imagine the Future". All students were:
- Participating
- On task
- Holding each other accountable
- Learning from each other
It was a teacher's dream.

Now for the tricky part. How do you achieve this?

Your break-out sessions do not need to be separated by walls. Student led un-conferences can be done in a regular classroom. You just need to have students sit together. It will get loud, but not much louder than in any group activity.

Decide on an un-topic conference appropriate for the students. It should be broad enough and interesting to the students. Start with a topic that inspires conversation: Imagine the Future (today's topic), College, Immigration, Equality. You know, the small stuff.
 
Provide students with some time (whether in class or out) to come up with break-out session ideas. Have the "Session Wall" posted for a couple of days at least. It does not have to be fancy, some butcher paper and post-its will do. Make sure you emphasize that not all students need to create a session. Have them read the session wall before adding topics. Remind them that if they want to lead a session that is already posted they can simply participate.

Prepare the students. Explain the structure. Go over the norms. Emphasize collaboration. Here is the website Samantha used with her students for today's topic: StunConferenceAdVENTURE (Be aware that some of her links are specific to her class, so they will not work for you).
With her permission, I have tweaked it into a generic one that you can use in your class, with specific ties to PBL - to make your own copy of the documents open them in Google drive and click File>make a copy. 


The day of the un-conference, take a deep breath and step back. Visit the different break-out sessions as a participant. Above all, avoid taking over. Trust your students and see them soar.


If you are wondering about the electronics, that is where their note-taking documents are.
I invite you to try it out. You will not be disappointed. If you do, tweet it out using #StunConference. 

Sunday, March 27, 2016

Appsmash: Google cardboard +Tinkercad+Sketchfab


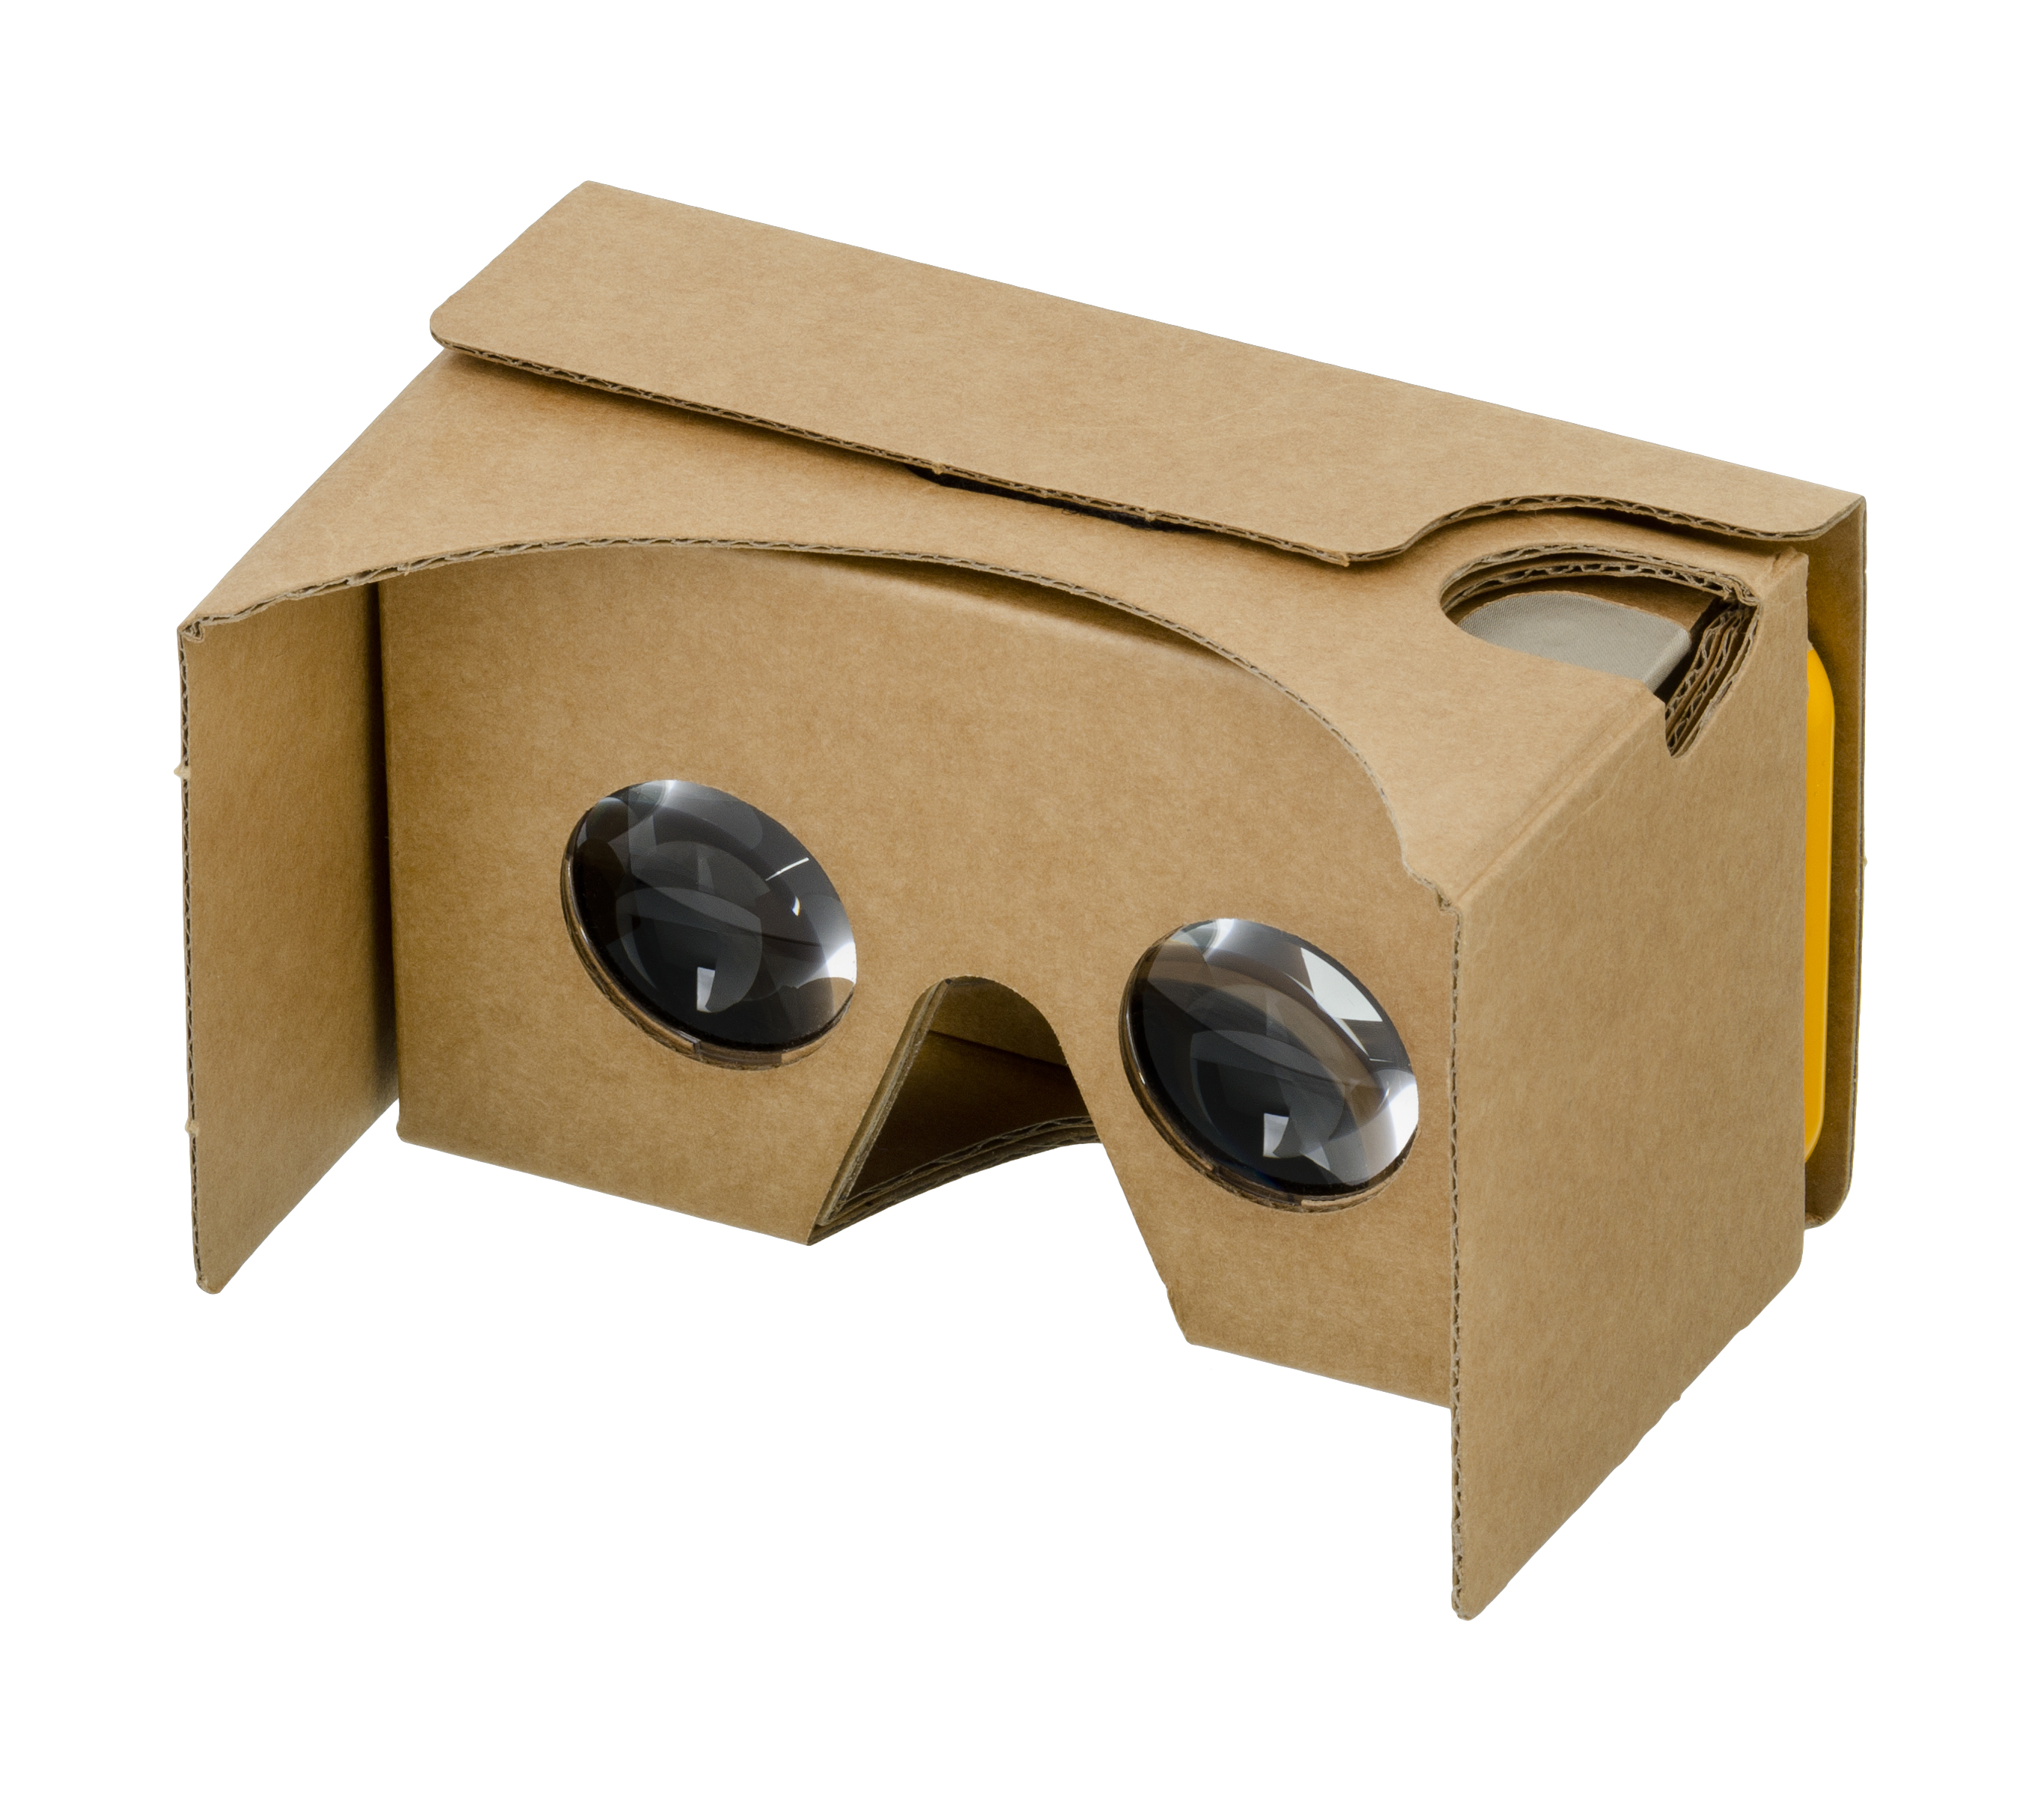
I am going to be totally honest here. When I first heard about Google Cardboard I figured that this was not for me. What could this contraption actually provide for my students that a video could not do? However, all that changed for me while attending the DeeperLearning Conference and landing, almost by mistake, in Carrie Lawrence's "Virtual Reality in Education using Google Cardboard" workshop.

We started with what I thought Google Cardboard was all about. Giving access to far away or impossible places that are now at our student's fingertips. Having never done the VR thing, that in itself was actually quite fun, and the apps she shared were cool. Here are some of the sites she shared and a couple more that I found after the session (all for Android, but I'm sure you can find the same or similar ones in the Apple store). Disclaimer, several of these work better on some devices than others, but don't let that deter you; find one or two that work for your device. Many more are being published.


VR Apps (Android), by mrsgarciaserrato

Now, if you have read my blog before, you know that I am more of a "student create stuff" kind of teacher. I liked the idea, but I was still not particularly enthused. However all of that changed an instant later when she began talking about 3D modeling. You see, there are a couple of tools that when used together enable students to create VR 3D models. This is how it goes:

It starts by you assigning a project that results in a digital 3D model. For example, my eco-house project.


Your students create their model in Tinkercad. This would be my go to since it is free, but I am assuming that other options would work (SketchUp or Minecraft). The limitation is really that the "output" needs to be compatible with our next step.
If using Tinkercad, once your students are done, they would click on Download for 3D printing, and select either .STL, .OBJ or .VRML.


That was the hard part. The next step is simply to upload the file to Sketchfab.


The students can tinker with it some, following these helpful tips from Sketchfab so the VR experience they create is "just right".

And just like that, the students, their parents and yourself can now use Google cardboard to virtually walk all around their model!


Google cardboard can be bought for around $10.00 from Google or Amazon (search for Google cardboard), and they work with any smartphone and even iPod touch devices. Students will also need to create accounts in both Tinkercad and Sketchfab (both free), but check with your IT first to verify that they are whitelisted.


Two additional "mini-hacks" before I go:

- Add a rubber band to the "crease" where the phone goes to prevent it from slipping out.
- Make sure you take the phone out of its case. This allows the use of the "trigger".


Get your "Google Cardboard" on!

Thursday, March 17, 2016

Is it cross-curricular?

Image: http://www.idiagram.com/ideas/knowledge_integration.html


I was in a PD the other day, and we were asked to provide examples of units that were cross-curricular. A couple of teachers started sharing how this particular math lesson was cross-curricular because the students were reading an article. Other teachers shared lessons that specifically said "cross-curricular integration" and used fancy fonts and colors to identify cross-curricular connections. I started thinking, all this is fine and good, but is something really cross-curricular simply because we added a reading? Is a science lesson on density cross-curricular because the students use math skills to arrive at an answer or perhaps included a couple of graphs? If students draw pictures or build dioramas, can I check off the "art" box?

By now, you have probably figured out that my answer is no. This is simply adding stuff. Even if during a science lesson we claim things like students provided textual evidence for their answers, thus "This lesson addresses CCSS.ELA-LITERACY.RI.6.1 Cite textual evidence to support analysis of what the text says explicitly as well as inferences drawn from the text.", unless the skill was specifically taught and assessed as part of the lesson, we cannot say the lesson cross-curricular (or integrated) Science and ELA. It seems really like a happy coincidence. 

So then, what do we mean by cross-curricular integration? A lesson, or unit that is:
  • Based on individual subjects, and their specific standards.
  • Developed by individual teachers, with excellent subject knowledge, working together to connect different subject matters in authentic and explicit ways.
  • Requires sustained collaboration between all participating content area teachers. Not only is pacing of content delivery necessary, but also the teachers involved need to have a relatively deep conceptual understanding of the different subjects being addressed. Going back to our previous example, the science teacher must know just how the "citing of textual evidence" looks like and is taught, while the ELA teacher must be able to explain photosynthesis using the same language as was used in the science classroom.
  • Provides opportunities for students to develop one end product that demonstrates mastery of the content in all the subjects that were considered as integrated. This means for example, that the essay assigned in Language Arts is assessed for craft and structure by said department, but for concept mastery in Science.
In short, cross-curricular integration requires work. This is not something we can do by simply "tweaking" and adding a couple of standards to the list. Let's provide the time for teachers to really develop cross-curricular units. Let's embrace PBL and provide students ways to demonstrate mastery in meaningful ways. The students will reap the benefits!