Showing posts with label project management. Show all posts

Sunday, February 2, 2020

Documenting Peer-Reviews leads to better builds


As a project-based learning teacher, I know about the importance of feedback during project runs. I constantly conference with students, formally and informally, trying to push them to think critically about the project as well as what they are creating. Unfortunately, these conversations and documents don't always make it into their final projects, leaving both me and the students frustrated come unveiling day. You see, often my students become enamored with an idea and it is really hard to sway them, even when they realize that they should have taken a different approach. They come up with "patch" solutions to "fix" the immediate problem, but they seldom take a step back and realize that they should start from scratch. While I know that the learning is in the process, I also see a lack of transfer of those lessons from project to project - i.e. this did not work last time, why would it work this time?

Case in point - I run a project based on Teach Engineering's "Adding Helpful Carrier Devices to Crutches", and have this whole set-up that walks students through the engineering design process for it (Assistive Technology - Crutches). Last year we even had one of the students as an actual client that needed the device and built to her specifications, supposedly. What happened was that students basically attached whatever they had on hand without much consideration for usability - boxes and bags that make holding the crutches almost impossible, or too big causing a severe imbalance, etc. When challenged about this during first testing, their solutions were always about fixing what was already there (create a hole for the hand or adding dividers so help with the swaying of things), but they never included "take the whole thing off and re-work from scratch". After weeks of patches, students unveiled final products that did comply with the requirements but were not actually useful. The posed to the student we were building for, "Would you buy this?",  was always met with, "No, not really" - even for her own build! This led me to a bigger reflection of where I was dropping the ball and/or what could I do to help promote better builds.

As I pondered this question, I came up with two key things that I've implemented and seem to be working:

The fast build 

As soon as the project is introduced, the students have one class period to create and test a quick prototype. This happens even before the brainstorm. The goal of the fast build is to help students identify where the problems may eventually arise.


The Peer-Review documentation

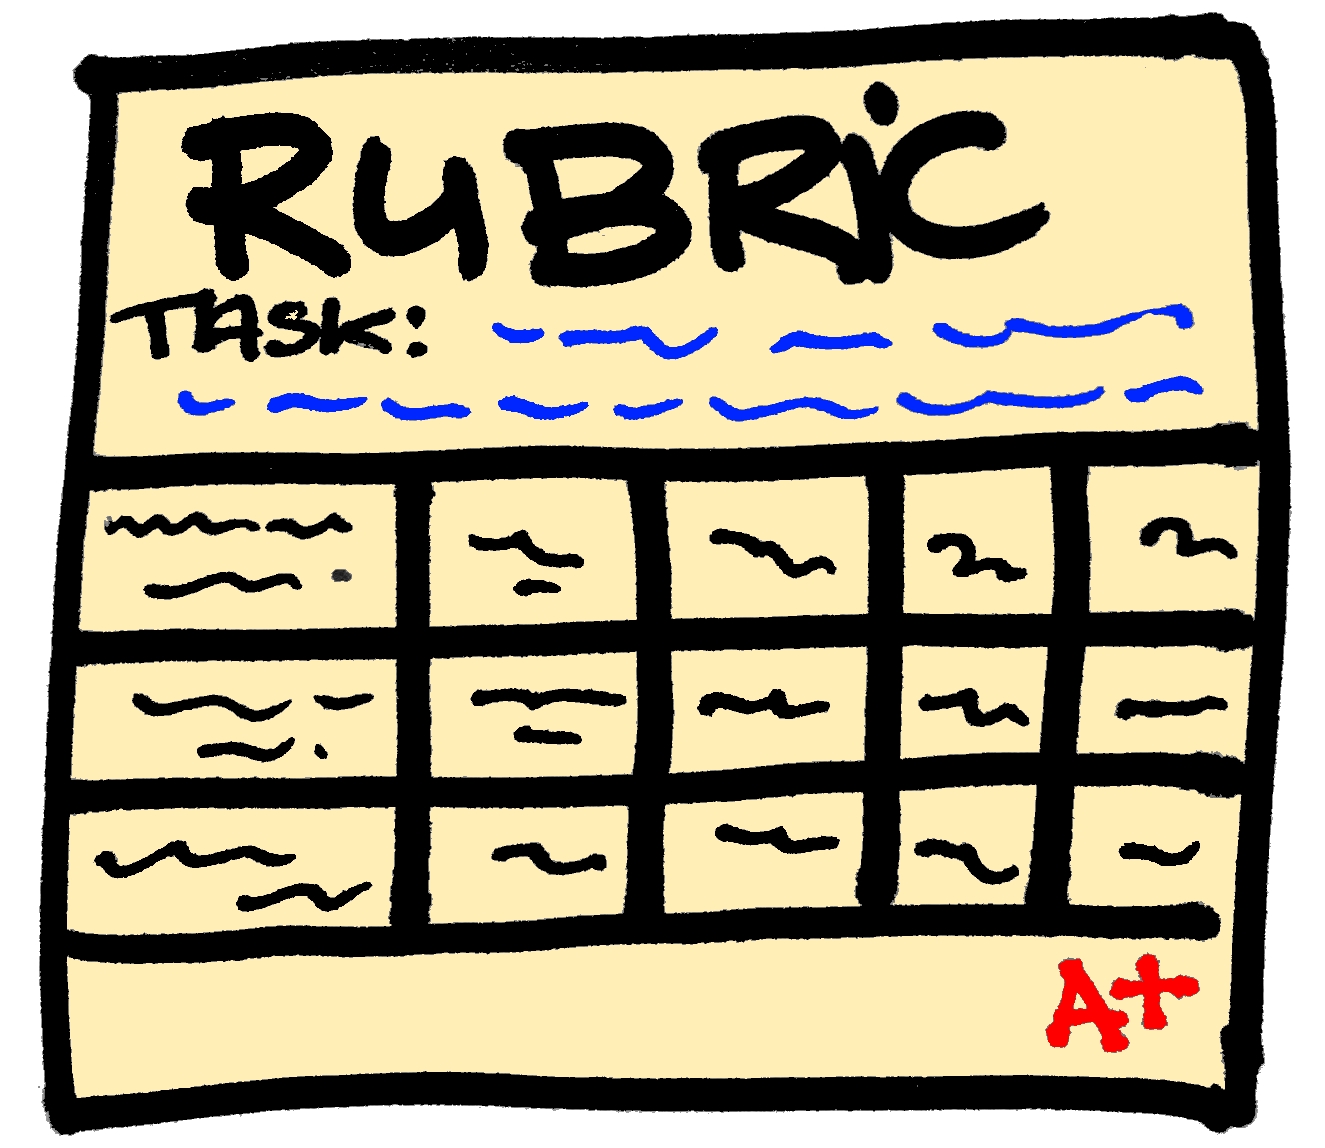
After the fast build, my students continued through the engineering design project as usual. However, when it came time for testing the first full build, I introduced a "Prototype Evaluation" rubric.
 
The key portion for us was the requirement of providing specific ideas to help the team improve.  I "sold" this to the students as "your team has already thought about different ways to address issues, but that is only 4 brains. You are getting the benefit of 28 other brains that are seeing other things you have to address." After the testing and prototype evaluation rubric has been filled out, each team is responsible for compiling the feedback and presenting a summary of the information obtained from those rubrics and creating a plan of action for the next prototype. 

This peer review documentation seems to be working, though it does add three days of work for each prototype. In this case, I am requiring at least three rounds, extending the project 9 more class periods.  while this may not be feasible in every situation, I believe that it will be time well spent.

What do you think? What scaffolds do you have in place to ensure yous students are successful during their project runs? I'd love to hear about them.


Friday, May 13, 2016

PBL Toolkit


What do you do when your administrator asks you to show your colleagues how to develop and run PBL projects? Once the meltdown is over, and you have had time to mull things over, you compile a list what you consider your best tools. Here goes:


Project Ideas:

This is really the hardest part, especially when you are just starting out. In the beginning, as you familiarize yourself with the process, your best bet is to use BIE's project searchEdmodo Spotlight or even my own PBL page. Find something you like and that you are willing to do. Know that it will not be pretty the first time around (or the second or third). Trust in the process knowing that once you have run a couple of experiences you will start to feel comfortable and even decide to create one from scratch. When you reach that point, you will start seeing opportunities everywhere. You will find yourself reading an article or thinking about an experience through the lens of, "I wonder what my students could come up with to ...". That is when you are ready to meet with your fellow educators, and develop one you can call your own.

Standards:

Yes, of course you will have to think about your standards. See where that nugget of an idea you had could fit. Truth be told, any PBL experience you create can hit on many standards. The trick is to decide which one you will be teaching explicitly. Don't fall into the trap of simply stating the standard. Decide in advance how your students are going to show mastery of the standard and make plans to point your workshops and activities to address the specifics of the standards.


The Driving Question: 

This is the root of your project, and BIE has graciously shared a handy tool to help with that. They call it the Tubric, and it boils down to something along the lines of:
"How can we as ___ create a way to ____ for ___ in order to address/do/change ___.

Now that you have your project idea, your standards and your driving question, it is time to develop your project. This is where the fun begins.

Entry event: 

Nothing beats a video to catch the student's attention. Thankfully most districts have now decided that YouTube is not the root of all evil. However there are still steps that can be taken to reduce distractions when presenting a YouTube video. Use tools like SafeshareTV or ViewPure to remove comments, advertisements, sidebars, etc.
A novel idea that can be used as an entry event and as a way to encourage deep need to knows is having students participate in a StunConference - a student-led unconference. This takes more time and preparation than showing a video, but it does have the benefit of greater student engagement with the project.

Need to knows: 

These can be collected by the students on Google docs (or in their notebooks). But what about group need to knows that can be easily shared and added to by the whole class? For this, I like to use Padlet and more recently Verso. Both of these remove the stress of students trying to come up with the "perfect" need to know, by allowing them to add and respond long after the project run began. They can also access the tools from any device, so if a new need to know pops up in their head later (while at the store for example), it is simply a matter a few clicks and the idea is added.


Workshops and activities: 

Whether you plan them way in advance or as a response to the needs of your students, you can curate your materials for easy access by your students in platforms such as LessonPaths or Blendspace. For your visual learners, or simply because it is more fun, you may want to create interactive images using Thinglink.


Project page: 

This is where you communicate expectations, as well as host all of the materials your students will need, including the rubrics. You want something that is easy to access and offers flexibility should you need to add things "on the fly" with a minimum of disruption. For me, the answer is WIX, a web page creation platform that allows you to add practically anything, anywhere. If you have never used it, choose from one of their templates. As you become more and more familiar, be bold and create your project pages from scratch. With a little bit of knowledge regarding iframes, you can embed anything without having to worry about figuring out whether what you want to add has an embed code or not. I have used some other tools that also deserve a mention due to their shallow learning curve: Tackk and HSTRY. Both of these are a bit more linear, and have limitations in what can be embedded directly, but for some groups of students this is a "good thing".

Managing a project run: 

Everybody is working on their project, or are they? How do your students communicate their daily activities with you, and how do you manage all those groups without going crazy? It is as simple as Trello, a project management tool that updates in real time, and allows every member of each team to share exactly what they are doing, upload materials, share information, etc. It also provides a space for direct teacher feedback during the run, eliminating the fear of facing a "what did you do all this time?" moment come presentation day. If you want to know more about how I use it, you may want to visit my previous post.


Presentations and Exhibitions: 

Make use of the Ignite format during presentations, or better yet host student exhibitions.


Rubrics and Feedback: 

Your students are done, and have successfully presented their projects. You still have to figure out a way to provide feedback and give access to the graded rubrics. Yes, you can use paper or you can create individual documents and e-mail them to the students. It is a chore no one likes. Thankfully, ForAllRubrics has come to the rescue. Whether you use it as a stand alone product, or as I do within Edmodo, this badging and rubric platform allows you to grade and send the rubrics to your students with just a few clicks.


Reflection:

What is PBL without reflection? Just another project... Invite your students to reflect on their work by having them use this set of questions using Blogger as their platform.


Dive into PBL. Your students will thank you for it.


Thursday, April 28, 2016

PBL - Project Management Made Easier with Trello


A while back I posted some ideas on how to keep the students on track during a PBL run (PBL - Avoiding the pitfalls of "Doing Research"). I've been working with several iterations of the Project Timetable, Daily Project Work Report and Project Management Sheet with some success, but my students and I still struggle with some of the finer points of PBL management in the classroom.

You see, some of my students hear project and immediately jump up to get scissors and glue, while others get a computer and open Google slides. Often I find myself saying, "You don't even know what the project is about and you are already thinking about the final product?" So the question continues, "How can I help students visualize the steps needed to successfully complete a project run without micro-managing?", and more importantly, "How can I see where everyone is at any given time?" I think I may have found the answer in Trello.

Trello is a free project management tool. The interface is simple. You create a board, which is really a list of lists, filled with cards. The cards can include pictures, attachments, checklists, labels and due dates. These cards can be moved around and edited all members of a board. Basically anything that you would need to know about a project run can be added to the board.

Here is how I am using it for my PBL runs:

  1. I create an assignment board master and make it public. The master includes the assignment, specific links I want to share, expected due dates, etc. 
  2. The "press secretary" from each team creates a copy my board master, and shares it with his/her teammates and myself.
  3. As students work on the project run, they update the board, moving the cards from "To do" to "Doing" to "Done", and add the evidence of their work. They can add links, pictures, documents, you name it!
  4. Things in the  "Done" list can be opened  by me to provide feedback. I can  even move things back to the "Doing" for revision. The board is updated in real time, so any time anything happens the students have the "latest" information.


Trello does not have to be only for PBL. Read what Melanie Pinola has to say about Trello. And no, I am not affiliated with Trello in any way. It simply has allowed me and my students to become better at this PBL business.

Saturday, April 9, 2016

StunConference - A Student Led Unconference


If you are an educator you have probably have heard of un-conferences. Maybe you have even attended a couple. You might have even toyed with the idea of doing one with students, especially if you are a project based teacher. After all, they kind of feel a little like the "need to know" discussions you have after your entry event.

However, the logistics  seem daunting. Where are you going to hold it? How are you going to keep students on track? Do you really have the time? What if the students do not buy into it? What if a session creator gets no participants? These are the questions that good friends and masterful educators Samantha McMillan and Melissa Garcia had a couple of months ago when they decided to "Just do it". Today, I was in Samantha's class and witnessed what I had thought impossible: A 6th grade student led un-conference.

So, what did it look like? Engagement and deep conversation centered around "Imagine the Future". All students were:
- Participating
- On task
- Holding each other accountable
- Learning from each other
It was a teacher's dream.

Now for the tricky part. How do you achieve this?

Your break-out sessions do not need to be separated by walls. Student led un-conferences can be done in a regular classroom. You just need to have students sit together. It will get loud, but not much louder than in any group activity.

Decide on an un-topic conference appropriate for the students. It should be broad enough and interesting to the students. Start with a topic that inspires conversation: Imagine the Future (today's topic), College, Immigration, Equality. You know, the small stuff.
 
Provide students with some time (whether in class or out) to come up with break-out session ideas. Have the "Session Wall" posted for a couple of days at least. It does not have to be fancy, some butcher paper and post-its will do. Make sure you emphasize that not all students need to create a session. Have them read the session wall before adding topics. Remind them that if they want to lead a session that is already posted they can simply participate.

Prepare the students. Explain the structure. Go over the norms. Emphasize collaboration. Here is the website Samantha used with her students for today's topic: StunConferenceAdVENTURE (Be aware that some of her links are specific to her class, so they will not work for you).
With her permission, I have tweaked it into a generic one that you can use in your class, with specific ties to PBL - to make your own copy of the documents open them in Google drive and click File>make a copy. 


The day of the un-conference, take a deep breath and step back. Visit the different break-out sessions as a participant. Above all, avoid taking over. Trust your students and see them soar.


If you are wondering about the electronics, that is where their note-taking documents are.
I invite you to try it out. You will not be disappointed. If you do, tweet it out using #StunConference. 

Thursday, November 26, 2015

Three ways to display student work

We all know the importance of displaying student work. Displaying student work send the message that the teachers and community values the work they do. It allows opportunities for students to learn from each other and make connections that they might have otherwise missed.

Unfortunately, not only do we have limited wall space, but the classrooms displays need to be taken down to make room for new work. All that hard work gets given back to the students and usually gets tossed out for recycling as soon as it gets home. 

You might think to take a picture of the display, but the pictures seldom not come out well enough for students to use them as reference. You might also be thinking about the impossibility of these classroom displays to show growth of a student or even whole class over time. This is where digital tools can come in handy.

These are my current favorites:


Thinglink

Shared with me by fellow Edmodo user Christi Collins, Thinglink is touted as the "leading platform for creating interactive images and videos for web, social, advertising, and educational channels." This user friendly digital tool provides students and teachers with the ability to turn any image into an interactive graphic. You can create multiple clickable spots within an image, and turn them into a multimedia launcher that can be used to include other images, video, audio or provide a link to any URL.


SpicyNodes

SpicyNodes is a mind mapping tool that provides "a way to visualize online information that mimics that way that people look for things in the real world. Bits of information — such as text, links, photos, and other media — are placed into "nodes," which are then linked together in an appealing interface that invites exploration." You can use spicy nodes to display student work not only for the sake of sharing, but also to provide opportunities to make connections between the different pieces of work that they created themselves.


HSTRY

Hstry is a web platform that allows students and teachers to create and explore interactive timelines. However, it really is so much more than a timeline. You can use it to create assignments and projects, the students can use it to create responses and draft portfolios. You can even use it as I did here to create an interactive display of student work. As with the two previous ones, the user can insert images, videos and text. If you use it for assignments, you can even include formative and summative assessments!


All of these were created with the same body of responses to a single assignment as a way to show you the possibilities of each webtool. 

Have you found other digital ways to display student work? Share them with us in the comments so we can all benefit.


Wednesday, July 22, 2015

Avoiding death by presentation.


It is project presentation day! Your students are excited (and anxious) about presenting their work. They had lots of choices to demonstrate what they learned, each team has a different topic or solution to the problem. They have also used different tools to create amazing presentations. Slide decks using Powerpoint, Google presentations, Prezi, E-maze or even Piktochart abound. Everything is going swell, until students start presenting.

That is when you again realize that it does not matter that everyone is presenting something different or that the tool chosen has lots of bells and whistles. Students, and many adults, still rely on text heavy slide decks, and more often than not, they "present" by reading each slide out-loud. By the third presentation, and even though you have stated several times, "I can read your slide, turn around and tell us about your work", you are ready to pull your hair out. Out of the corner of your eye you see Juanita doodling and Johnny dozing off. The class is bored out of their minds. Something has to change!

Now you may already be thinking about authentic audiences, but the same thing happens when students are presenting to the community at large, and even in professional settings. And yes, I know that presentation skills need to be taught and students need to practice beforehand. We have had complete lessons on what makes a good presentation and critiqued posted presentations from around the web. But even then, the reliance on reading text-heavy slide decks is still an issue.

As I searched for an answer, I came across the idea of using an Ignite presentation format. The Ignite presentation is a 5 minutes long presentation with 20 slides where the slides advance automatically every 15 seconds. You can think of it as the presentation equivalent of a sonnet.

The idea is simple, but putting it into practice will require some prep and teaching on my part. This is the plan:

1. Introduce the idea of Ignite presentations. Share Scott Berkun's - "Why and How to Give an Ignite Talk".


2. Provide students with an Ignite presentation planner. This document becomes the presentation outline.

3. Based on the planner, students can create a slide index (on paper or a Google doc). This is basically a "what will go in each of the presentation slides". Students then practice with this slide index in hand to figure out what to say and what to include as visuals for that slide.

4. Have students choose a slide deck creator, and draft their visual presentation. Remind them of the "20/15" rule. 
  • Google slides: Create the 20 slide deck. Publish  to the web, and select auto-advance every 15 seconds. The link created is what they submit to be played on presentation day.
  • Prezi: Prezi does not offer the 15 second option in auto-play, so students will need to get a little more creative. For example it could be 15 slides every 20 seconds or 30 slides every 10 seconds. 
  • Emaze: Apply the 15 second stop duration in slides options to the complete 20 slides presentation.
The key idea in this step is that no matter what tool they use, they will be presenting using the automatic changing of slides. It should almost be a choreographed dance between the slide deck and the presenters. Practice is key!

This is what our first attempt looks like:


5. During presentation day, I will continue to use my peer-presentation rubric, which I have transformed into a Google form. Feel free to create your own copy from this presentation rubric response form  (If you are unsure of how, read my previous post Evaluating websites using Google forms).

So, that's it. What do you think?
What other ways have you come up with to avoid death by presentation? I would love to hear your thoughts.

Wednesday, July 15, 2015

Evaluating websites using Google Forms

Keyboard and phone image

We can probably all agree that the internet is a great source of information on all topics. From travel destinations or cute kitten videos to breaking news or the latest scientific discovery, everything is at our fingertips. Content is continuously added, often without any form of review for accuracy or reliability, so it is imperative to teach our students how to evaluate Web sites to determine if the information is reliable and credible.

There are many sites that offer lessons to teach students how to evaluate websites. One of the best tools I found for this is a rubric developed by the Ron E. Lewis Library - based on the CRAAP Test created by Meriam Library at California State University-Chico. Unfortunately, although the acronym is catchy, I cringed at the thought of having my middle-schoolers go home and tell their parents that I had used that specific word. Middle-schoolers are not known for providing context, plus if I know them at all, by the time they got home the CRAAP acronym would probably have changed to something even worse. So I took it upon myself to modify the rubric into something more middle-school appropriate, creating the CITE-IT rubric instead.

Over the last school year, we worked with a paper version of the CITE-IT rubric, and I required that any time that students were referencing sources they had to attach the CITE-IT scores and rubrics for the Web sites they used. This worked quite well, except for the fact that I had to keep a big stack of CITE-IT rubrics on hand. Also, although most students were able to manage this, but a few of them would invariably come towards the end of a project and fill in a bunch of the rubrics, just so they could comply with the requirement.

In a recent training, I learned about using Google forms to create rubrics, and thus be able to grade "on the fly". This means that basically you create a form with a field for student name and a series of multiple choice indicators for each of your criteria. In the end this gives you a spreadsheet where you have collected each student's score on the rubric, and which you can then sort any way you wish. As I mulled this idea as a great way to increase my productivity while grading presentations or essays, a spark of inspiration struck. "What about using that same idea and having students use it for the curation of websites with CITE-IT scores?"

So, this is what I came up with.

  • I created a Google form version of the rubric.
  • I modified the response sheet so that the last column on it would automatically add the correct columns. I also added a column that would advise the student on whether to use the site or not. This is based on the individual scores the student assigned - just like in the paper version.


The idea is that this will allow the students to have their own version of the CITE-IT form and response sheet, which they can then use as they are doing their research. By adding a text  field for comments, they will also be able to sort the sheet by project title (if that is what they add), share their evaluated sources with me and each other and perhaps, in my utopian dreams, even see trends in the URL addresses that come up as reliable most often.

If you would like to make a copy of the form for your students to use (or modify to suit your needs), it is as easy as navigating to this blank response spreadsheet, clicking on Make a Copy (make sure you are signed in to Google), and then click on View Form. This will maintain all formatting and formulas I used. Feel free to change anything that does not suit you, as this is now your own copy.

I hope you find this useful, and if you have an idea on how to make this better, please share.

Friday, June 19, 2015

PBL - Avoiding the pitfalls of "Doing Research"

OK, so you created an engaging entry event for your students. The students are excited about immersing themselves in the PBL experience. As a class you developed a list of "need to knows" for the project, everyone understands what they need to do. You walk around the classroom. All students appear to be working. Students attend the workshops you carefully develop at their request. The conversations you overhear tell you the students are engaged in some deep learning. All is well in the PBL world. Except...

Scenario 1: Time travel to day 5 (or whatever) of the project run. You ask a team, "How are you doing?" A student gleefully states, "We are doing research on cells." You continue, "What specifically are you trying to understand?" Their reply, "Umm." You follow up with a series of questions until finally you obtain a better answer, only to repeat the same process with a second and third teams.

Scenario 2: Time travel to the day before the project is due. You ask that teams submit their work so that presentations will run smoothly. Several teams are frantically compiling final products, You know that these teams will offer up piecemeal presentations. Organization and mechanics have gone out the window.

After being faced with these two scenarios several times in my PBL runs, I developed a couple of strategies that seem to help.

Project Timetable

At the start of the PBL run, and along with the "need to knows", the students and I analyze the different components that are required for a project. With rubric in hand, we backwards map the project and develop a project timetable. Both the requirements and timetable are put into a shared document, which the students use to "move themselves" through the project continuum.
Sample of my Genetics Project Timetable

Daily Project Work Report

While the project is running, I have students submit a Daily Project Work Report. This simple sheet, inspired by BIE's Project Work Report asks students to set specific goals for the day's work, and then report what was actually accomplished during the time in class. The key to using this sheet is the specificity of the goals. At the start we go over what a specific goal for a day's work means - "Doing research" is never specific enough. I collect these sheets daily and provide pointed feedback on them as the project run progresses. 

Project Management Sheet

Project Management Sheet
Both of the previous documents still have the teacher very much as the project manager. However, my goal is to shift the responsibility for managing a project to the students, so as students become more adept at managing a project run, I introduce the Project Management Sheet. This document has students take full control of the project run, from identifying need to knows, project requirements and backwards mapping the project, all the way to requesting feedback and assigning work outside of class.


Although I still get some "Doing research" answers, these tools have cut down on students going down the rabbit hole that this statement means. They create tangible evidence of student accountability for a PBL run.

Do you have other ideas for solving the "doing research" conundrum? I would love to hear them.